ReactNative 在本文使用 RN 代替,代码使用 ES6 语法
开发环境搭建
Node 的安装
RN 脚手架安装
1
|
npm install -g create-react-native-app
|
使用脚手架创建一个 RN 项目
1
2
3
|
create-react-native-app RNDemo
cd RNDemo
npm start
|
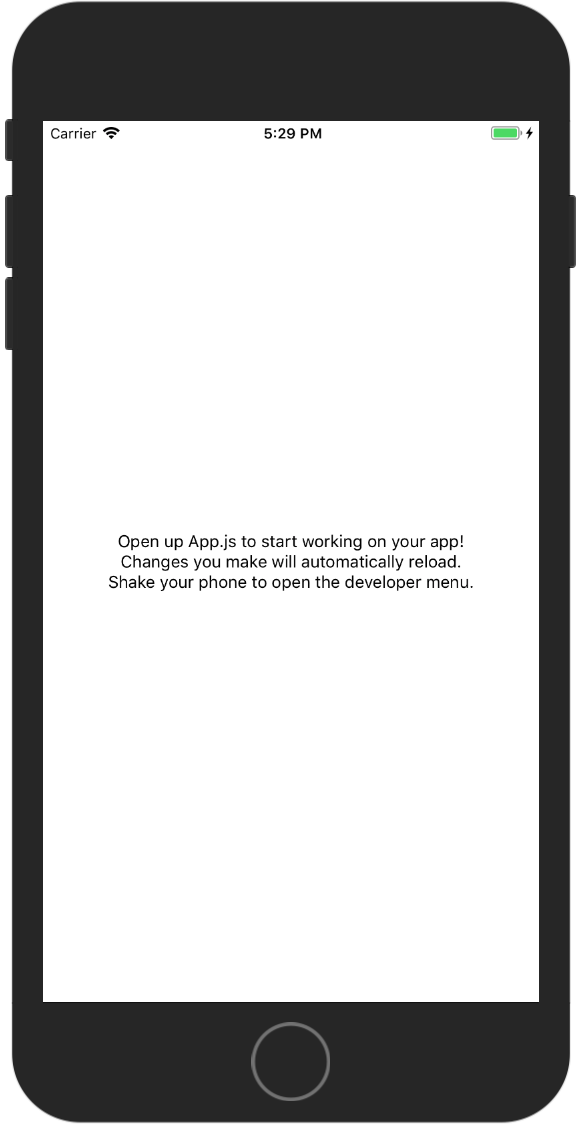
稍等片刻,成功启动之后会显示一张二维码,可以扫描这个二维码安装 App。当然也可以输入 i 启动 iOS 模拟器,或者 a 启动安卓模拟器。在模拟器中找到 Expo 这个 App,打开后可以看到如下界面,说明开发环境搭建成功了。
直接运行并启动 Android 模拟器
直接运行并启动 iOS 模拟器
组件
组件中有两个重要的字段分别是 props 和 state。props 用来和父组件之间通信,state 用来保存数据和状态。通常 props 和 state 发生变化时,会改变 UI。
Props(属性)
props 在构造方法中初始化,props 不可以被自己更改。
 1
 2
 3
 4
 5
 6
 7
 8
 9
10
11
12
13
14
15
16
17
18
19
|
class Greeting extends Component {
  render() {
    return (
        <Text>Hello {this.props.name}!</Text>
    );
  }
}

export default class LotsOfGreetings extends Component {
  render() {
    return (
        <View style={{alignItems: 'center'}}>
        <Greeting name='Rexxar' /> //传递 props
        <Greeting name='Jaina' />
        <Greeting name='Valeera' />
        </View>
    );
  }
}
|
State(状态)
state 表示组件的状态,状态可以被自己改变,通常用来保存数据。state 在构造方法中初始化,使用 setState 来改变它的值,每次修改 state 会触发 render 来重新渲染界面。
 1
 2
 3
 4
 5
 6
 7
 8
 9
10
11
12
13
14
15
16
17
18
19
20
|
class Blink extends Component {
  constructor(props) {
    super(props);
    this.state = {showText: true};

    // Toggle the state every second
    setInterval(() => {
      this.setState(previousState => {
        return { showText: !previousState.showText };
      });
    }, 1000);
  }

  render() {
    let display = this.state.showText ? this.props.text : ' ';
    return (
        <Text>{display}</Text>
    );
  }
}
|
生命周期
先看一下大神做的图
 从上图看出整个组件的生命周期分为三个阶段
创建阶段
defaultProps 会在所有方法之前初始化。如果父组件没有给 props 中的某个属性赋值,则使用这里的默认值。之后把值赋给 props ,所有的对象共享 defaultProps。
构造方法用于初始化 state
在组件被挂载之前调用,在生命周期中只被调用一次。可以用于初始化网络数据。
渲染组件,必须要有的方法。只能返回一个直接子元素。
在渲染后调用,表示组件已经加载完毕。
运行阶段
- componentWillReceiveProps
在组件收到新的 props 的时候调用,可以调用 setState 来更新 state,在这个方法里调用并不会触发 render。
在收到 props 后会调用该方法,来判断是否需要重新渲染组件。返回 true 表示要重新渲染,false 不渲染。
在重新渲染组件之前调用,在这个方法中不能调用 setState 来设置 state。
在组件重新渲染完毕后调用,不应该在这个方法中调用 setState 来设置 state,否则可能导致循环调用。
销毁阶段
组件从 DOM 中移除的时候调用,通常做一些清理工作。
布局
在 React Native 中使用 Flexbox 来进行布局。Flexbox 是 W3C 在 2009 年推出的一种新的布局方案。没有 Flexbox 的时候布局写起来特别不舒服(个人觉得),比如:垂直居中。有了 Flexbox 之后再也不想使用过去的布局方式了。这里的 Flexbox 和 web 上的基本一致,有些许不同。比如: flexDirection 的默认值是 column 而不是 row 。布局中使用 flexDirection 、 alignItems 和 justifyContent 这三个的组合就能够正确的完成布局。
Flex Direction
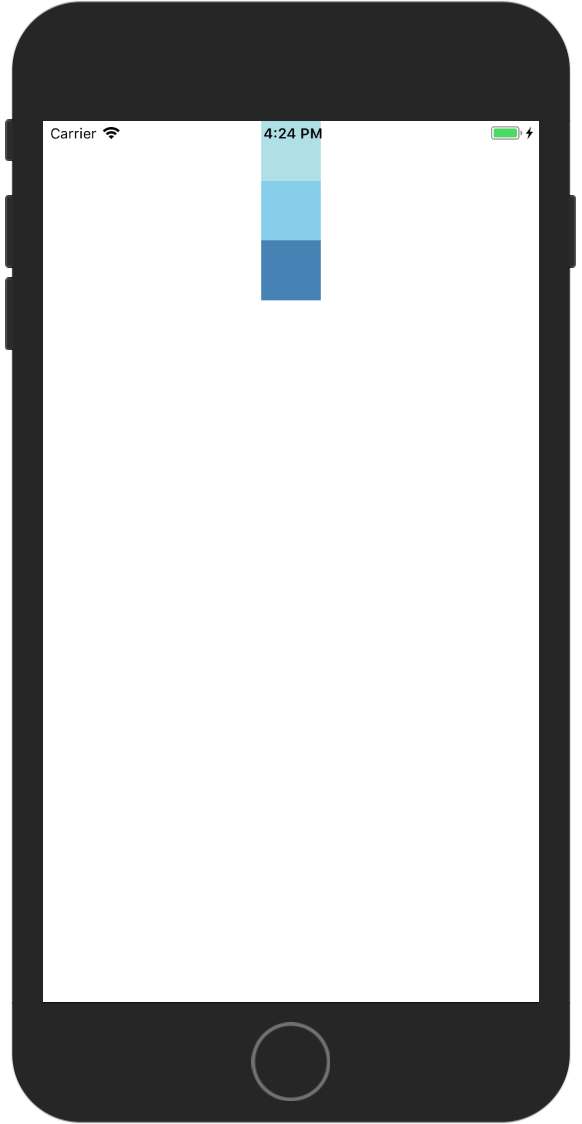
flexDirection 表示布局的主轴,子元素会沿着主轴的方向排列。flexDirection 的方向有 column 和 row 表示竖直排列和水平排列。
1
2
3
4
5
|
<View style={{flex:1,flexDirection:'column'}}>
        <View style={{width: 50, height: 50, backgroundColor: 'powderblue'}} />
        <View style={{width: 50, height: 50, backgroundColor: 'skyblue'}} />
        <View style={{width: 50, height: 50, backgroundColor: 'steelblue'}} />
</View>
|
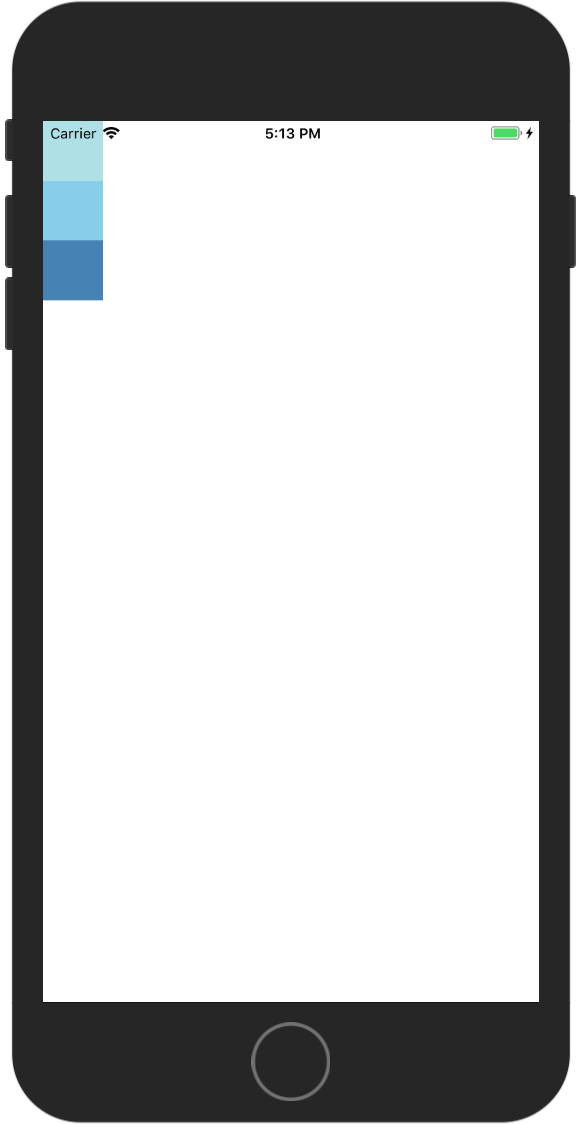
column

row
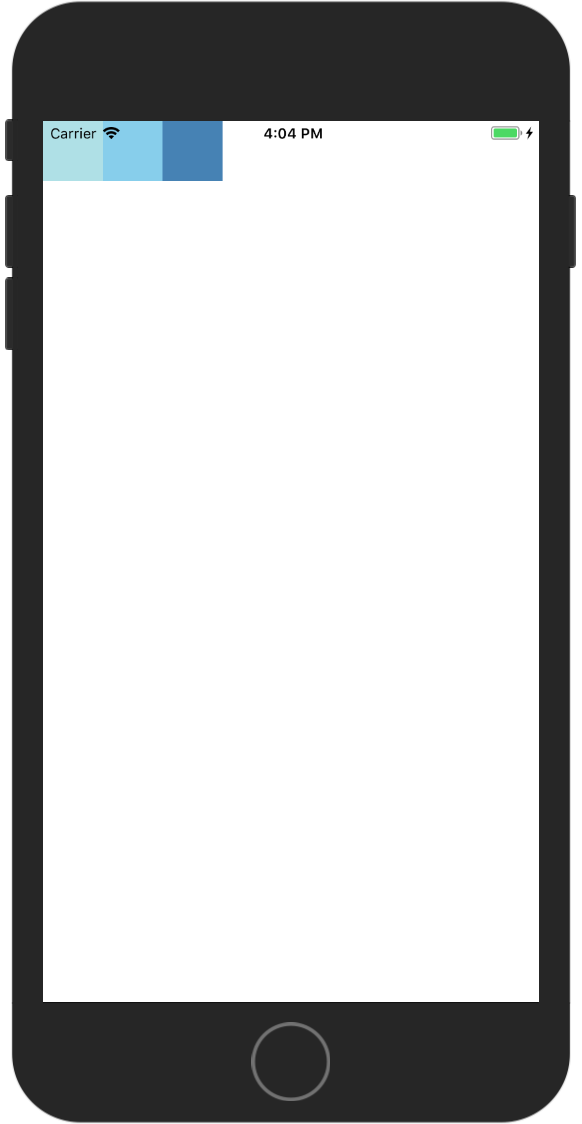
Justify Content
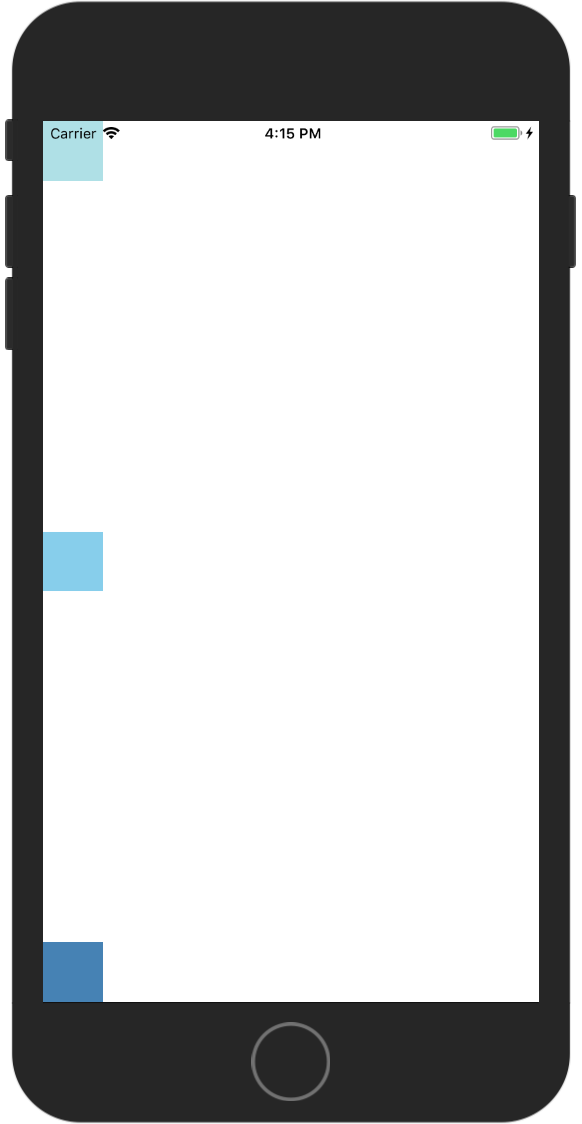
justifyContent 决定者子元素在主轴上的排列方式。justifyContent 的值有 flex-start , center , flex-end, space-around, 和 pace-between 。
1
2
3
4
5
|
<View style={{flex:1,justifyContent:'flex-start'}}>
        <View style={{ width:50,height:50,backgroundColor: 'powderblue'}} />
        <View style={{  width:50,height:50,backgroundColor: 'skyblue'}} />
        <View style={{  width:50,height:50,backgroundColor: 'steelblue'}} />
</View>
|
flex-start 主轴开始对齐,也就是从主轴起点开始排列
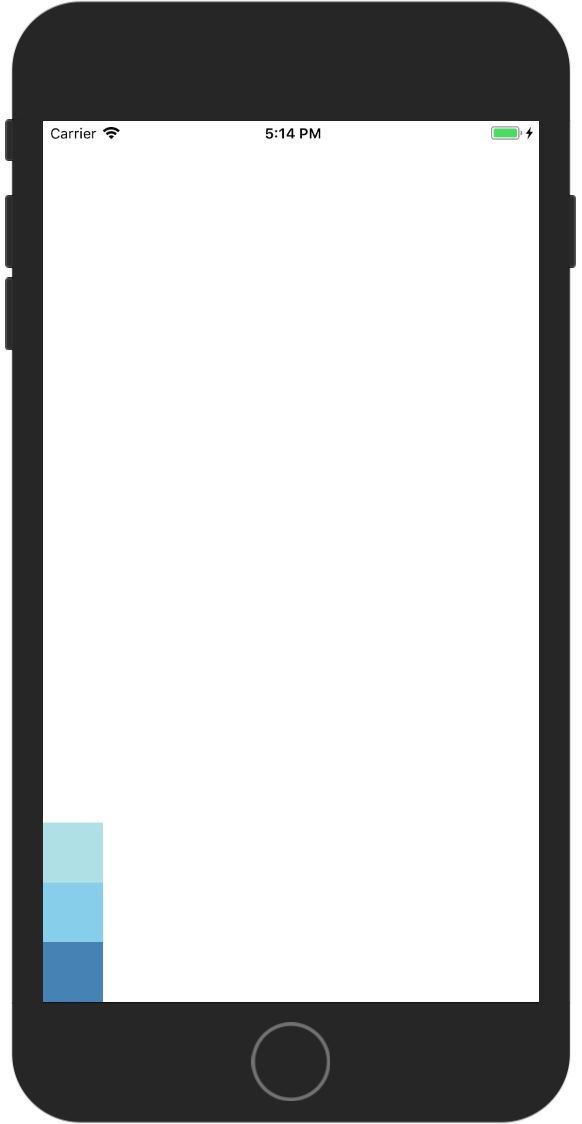
flex-end 主轴结束方向对齐,也就内容与是主轴结束点对齐
center 居中

space-around 每个项目之间间隔相等
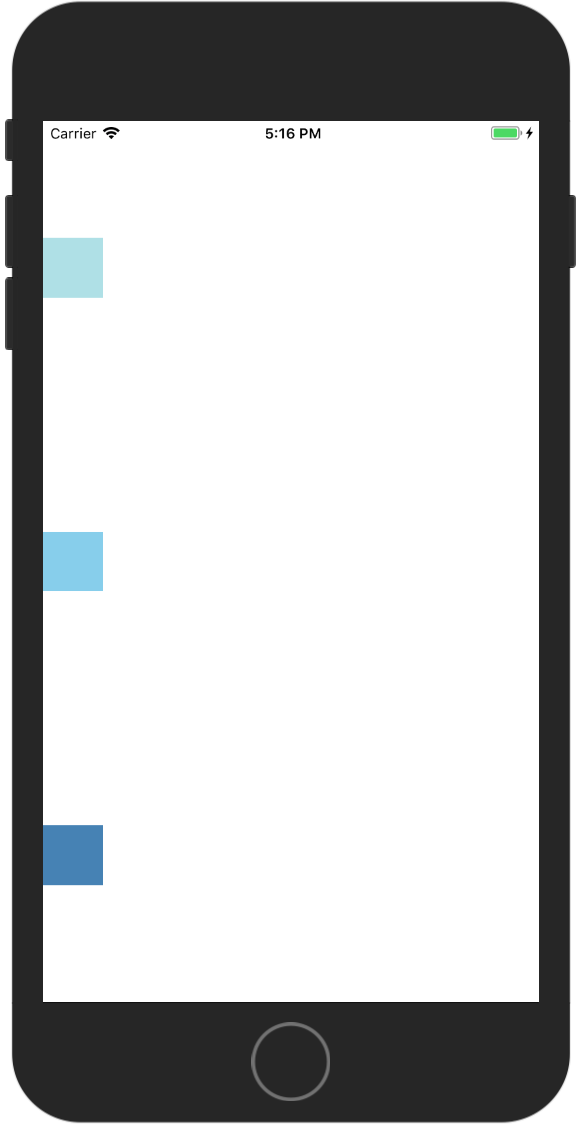
space-between 每个项目之间的两边都相等
Align Items
alignItems 决定者子元素在次轴上的排列方式。alignItems 的值有 flex-start, center, flex-end, stretch 。
flex-start 内容与次轴开始对齐

flex-end 内容与次轴结束点对齐

center 内容居中
stretch 在次轴方向上展开至填满次轴,子元素控件不能在次轴上设置大小,不让会没有效果
1
2
3
4
5
|
<View style={{flex:1,alignItems: 'stretch'}}>
        <View style={{ height:50,backgroundColor: 'powderblue'}} />
        <View style={{ height:50,backgroundColor: 'skyblue'}} />
        <View style={{ height:50,backgroundColor: 'steelblue'}} />
</View>
|

网络
fetch
RN 提供了 fetch API 来进行网络请求,第二个参数可以指定 header 参数,和提交的数据。
 1
 2
 3
 4
 5
 6
 7
 8
 9
10
11
|
fetch('https://mywebsite.com/endpoint/', {
  method: 'POST',
  headers: {
    'Accept': 'application/json',
    'Content-Type': 'application/json',
  },
  body: JSON.stringify({
    firstParam: 'yourValue',
    secondParam: 'yourOtherValue',
  })
})
|
fetch 返回的是一个 Promise,这样我们可以很方便的处理返回的数据
 1
 2
 3
 4
 5
 6
 7
 8
 9
10
|
function getMoviesFromApiAsync() {
  return fetch('https://facebook.github.io/react-native/movies.json')
    .then((response) => response.json())
    .then((responseJson) => {
      return responseJson.movies;
    })
    .catch((error) => {
      console.error(error);
    });
  }
|
在 RN 中使用 ES7 标准的 async/await 语法也是可以的
1
2
3
4
5
6
7
8
9
|
async function getMoviesFromApi() {
  try {
    let response = await fetch('https://facebook.github.io/react-native/movies.json');
    let responseJson = await response.json();
    return responseJson.movies;
  } catch(error) {
    console.error(error);
  }
}
|
XMLHttpRequest
除了 fetchAPI 外,RN 还内置了 XMLHttpRequest,也就是我们俗称 ajax 的东西。
 1
 2
 3
 4
 5
 6
 7
 8
 9
10
11
12
13
14
15
|
var request = new XMLHttpRequest();
request.onreadystatechange = (e) => {
  if (request.readyState !== 4) {
    return;
  }

  if (request.status === 200) {
    console.log('success', request.responseText);
  } else {
    console.warn('error');
  }
};

request.open('GET', 'https://mywebsite.com/endpoint/');
request.send();
|
WebSocket
RN 还提供了 WebSocket 的支持
 1
 2
 3
 4
 5
 6
 7
 8
 9
10
11
12
13
14
15
16
17
18
19
20
21
|
var ws = new WebSocket('ws://host.com/path');

ws.onopen = () => {
  // connection opened
  ws.send('something'); // send a message
};

ws.onmessage = (e) => {
  // a message was received
  console.log(e.data);
};

ws.onerror = (e) => {
  // an error occurred
  console.log(e.message);
};

ws.onclose = (e) => {
  // connection closed
  console.log(e.code, e.reason);
};
|